Below
are descriptions and photos of the various pieces of
equipment. Having a A factory that doesn’t have a
well-designed manufacturing system in place to move the molds through
the manufacturing process will end up being as chaotic as a bumper car
ring at an amusement park. This guaranteed chaos will waste
time and energy that should go towards producing the products that will
make you money.
(Click thumbnails to see
larger
view)
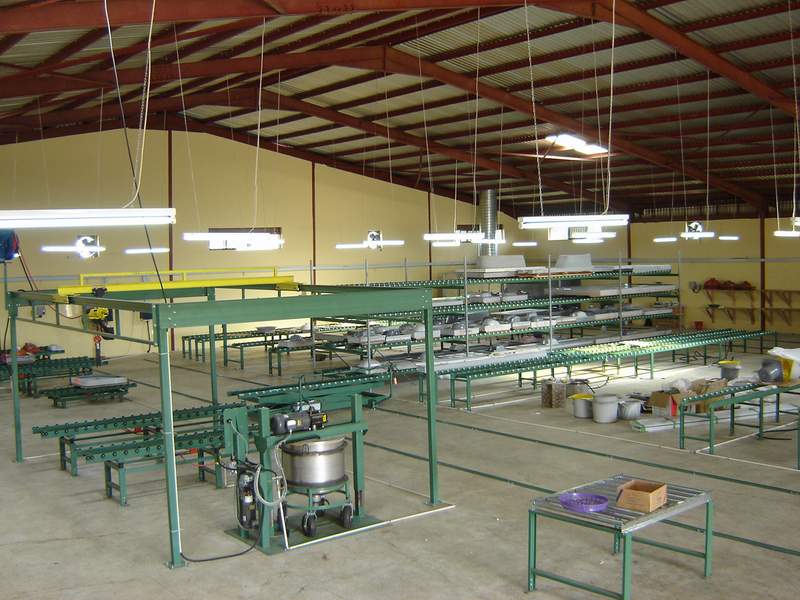
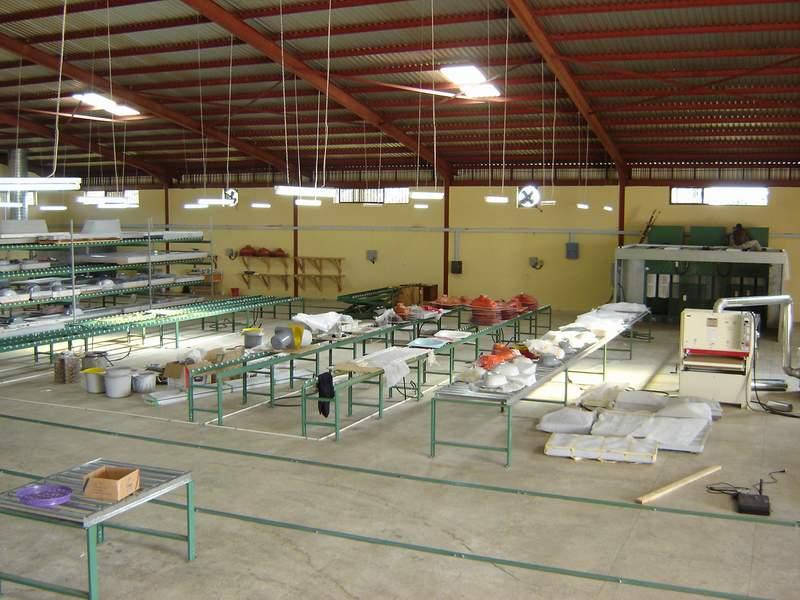
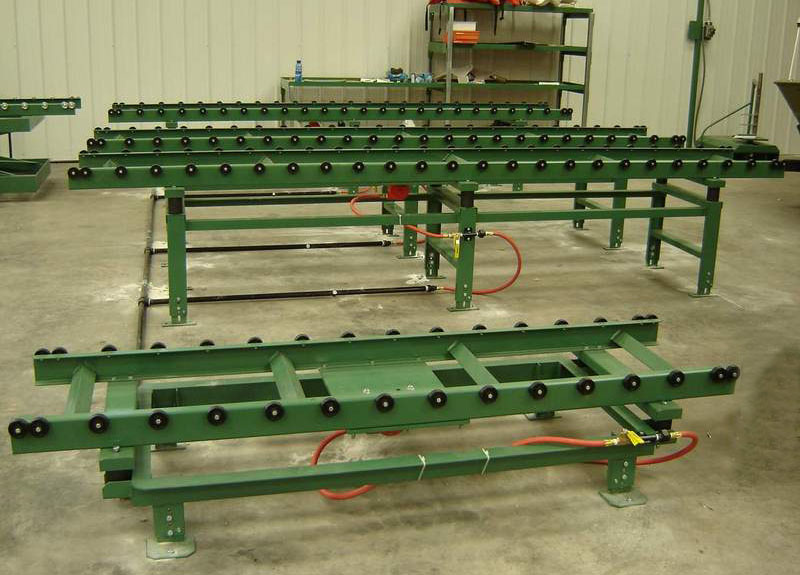
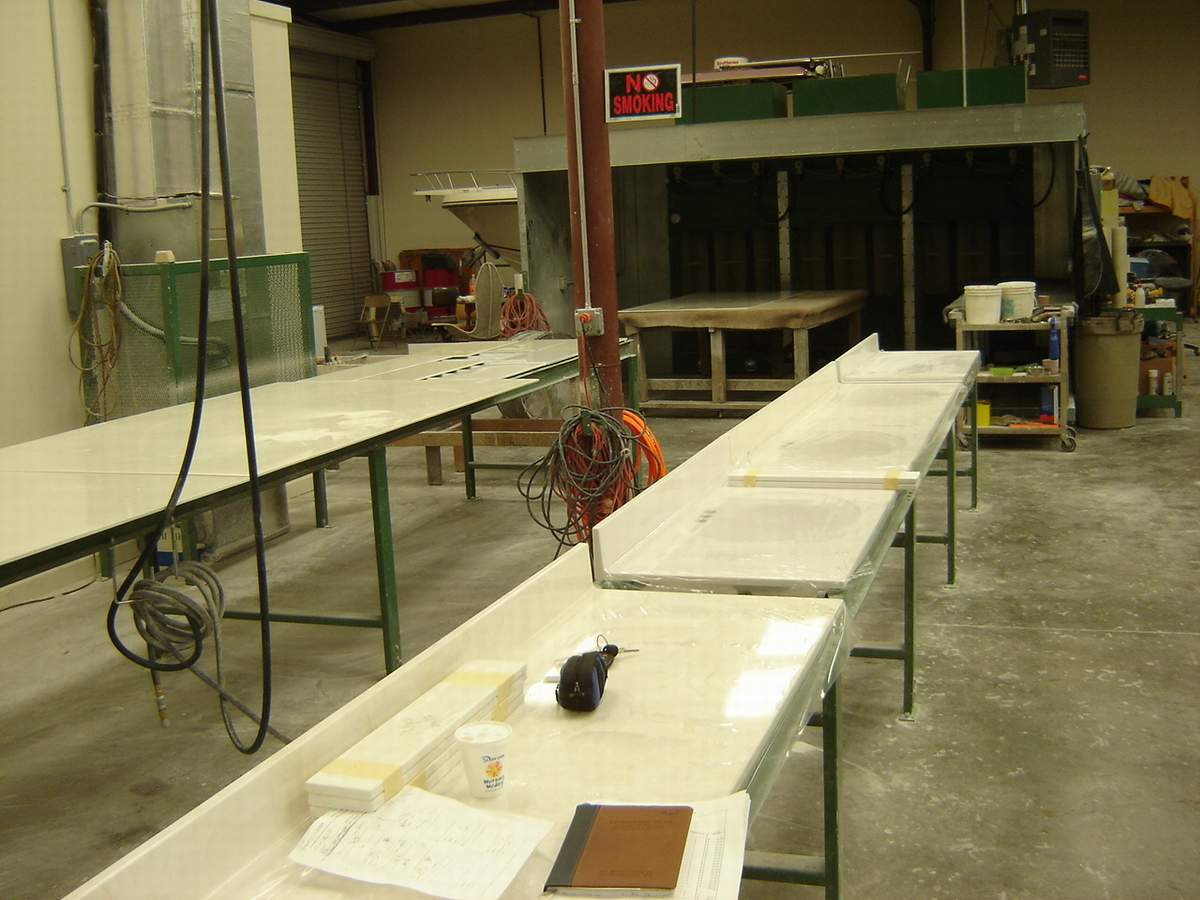
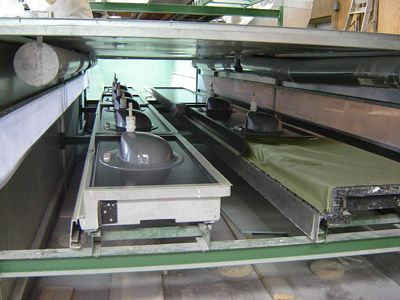
1. The Set-Up
Lines are where you set up and prepare the mold per the
customer’s order. These are also used as conveyor
lines to move the molds to the next step.
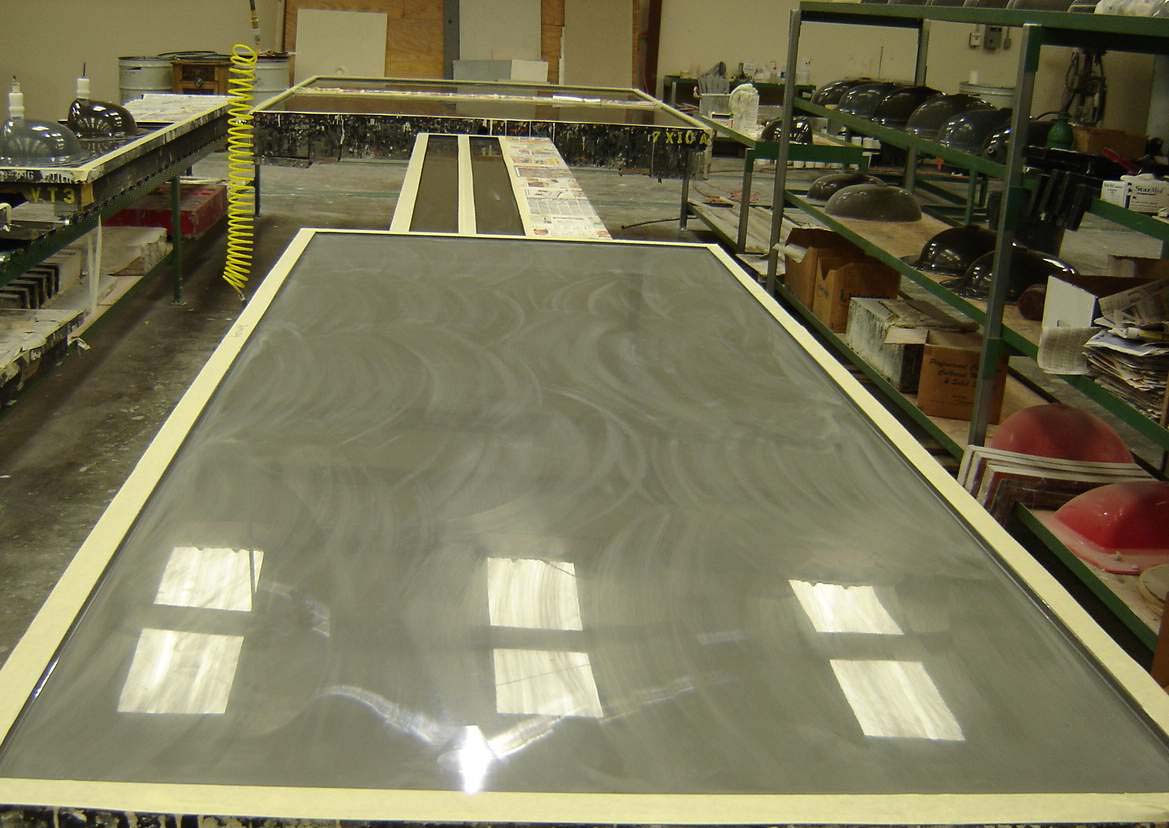
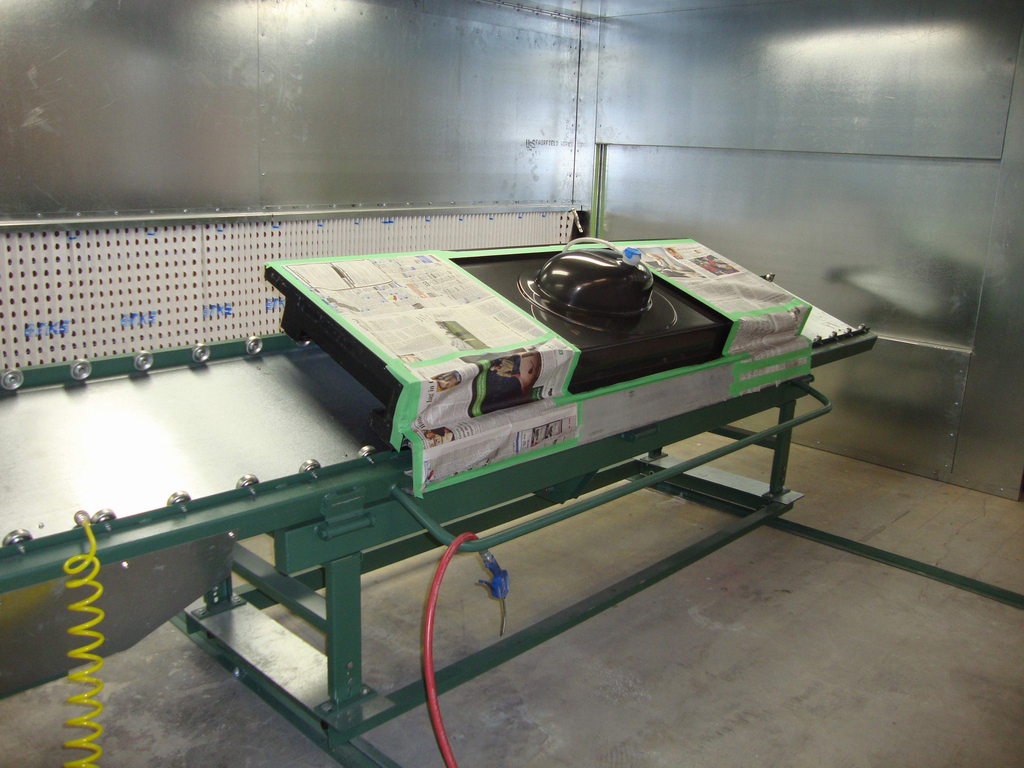
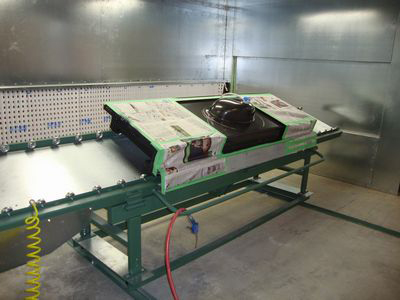
2. After the
molds are set up you will transfer them to the Spray Booth where the
gel coat will be applied. There are four types of gelcoat spray carts
to choose from. There is a flat, a Tilt, a Rotate and a combo
Tilt/Rotate.

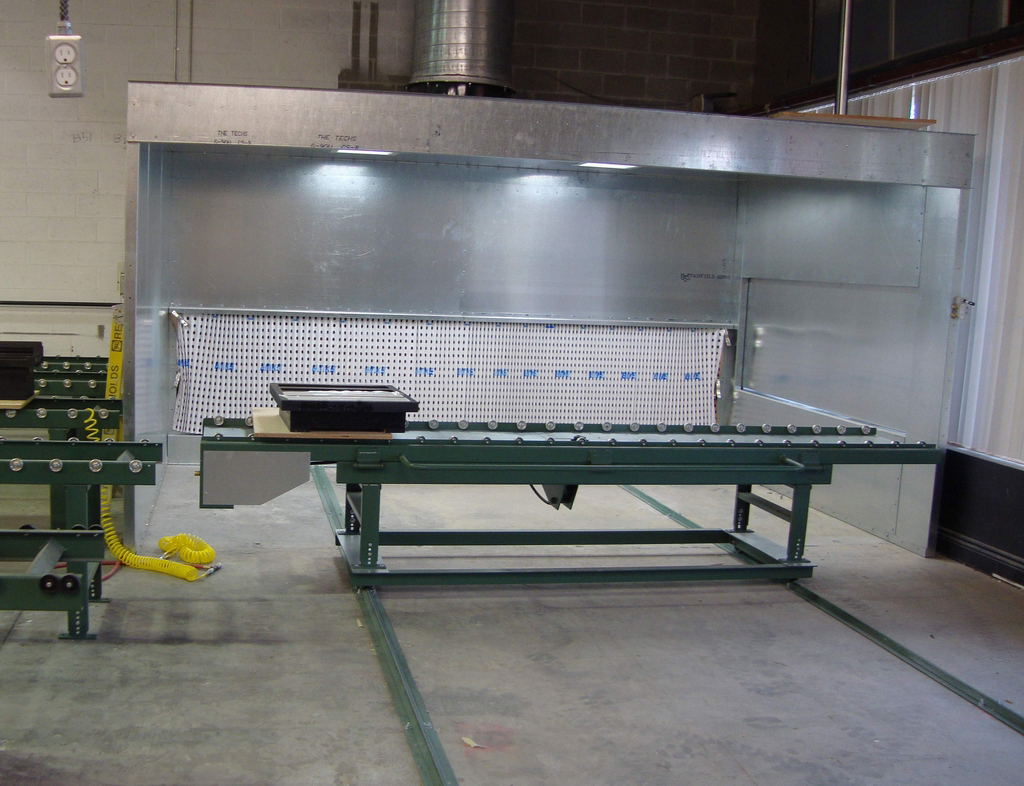
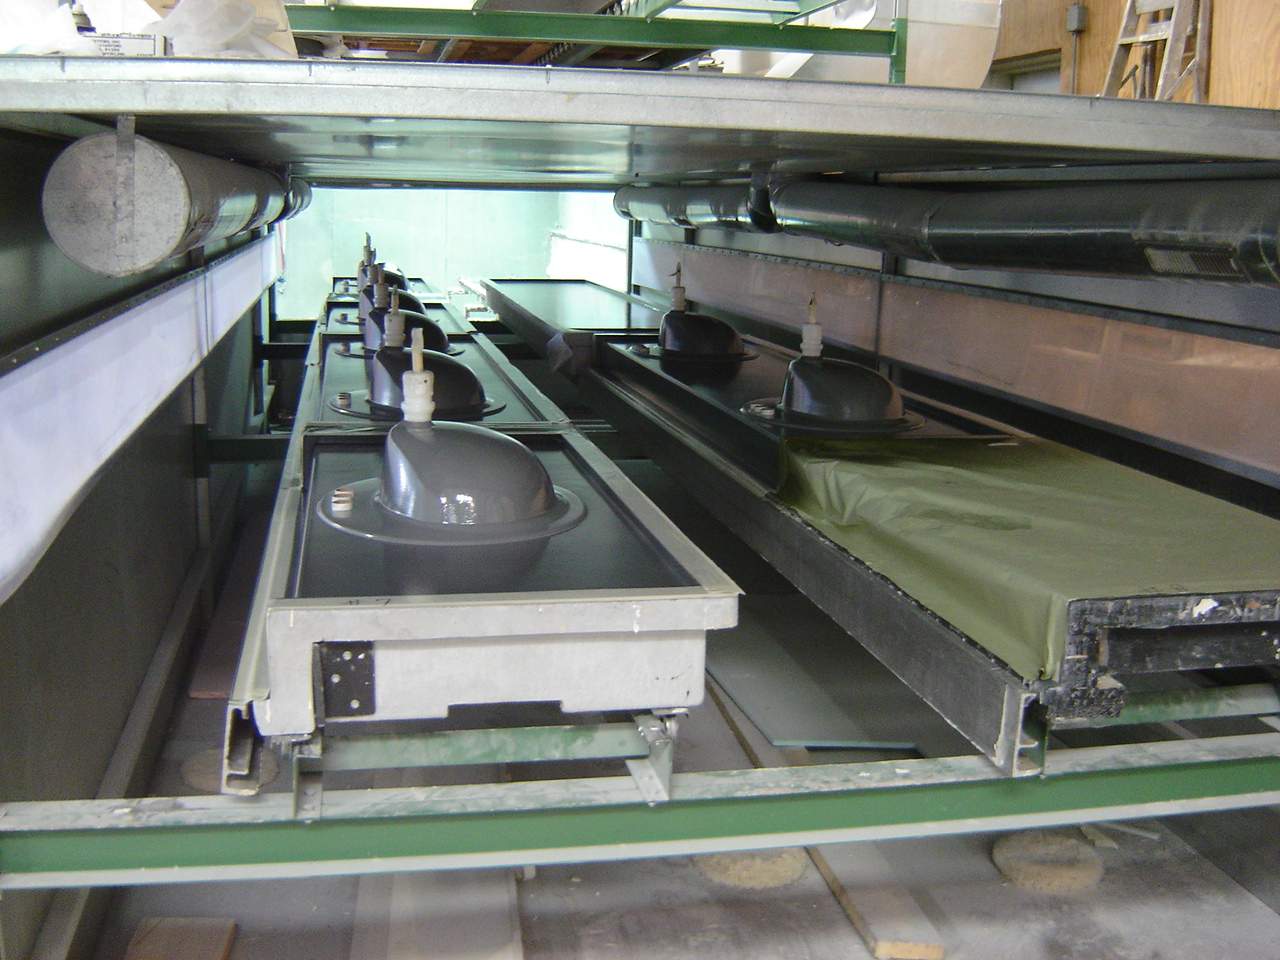
3. After
you’ve applied the gel coat it needs to partially cure before
you can pour on it. In a cold climate this can take up to an
hour but a Gel Coat Curing Tunnel will cut this time in half, eliminate
a bottle neck, and keep the production line moving. If
you’re manufacturing in a warm climate a curing tunnel may
not be required, but would keep dust and other contaminates from
landing in your fresh gel coat.
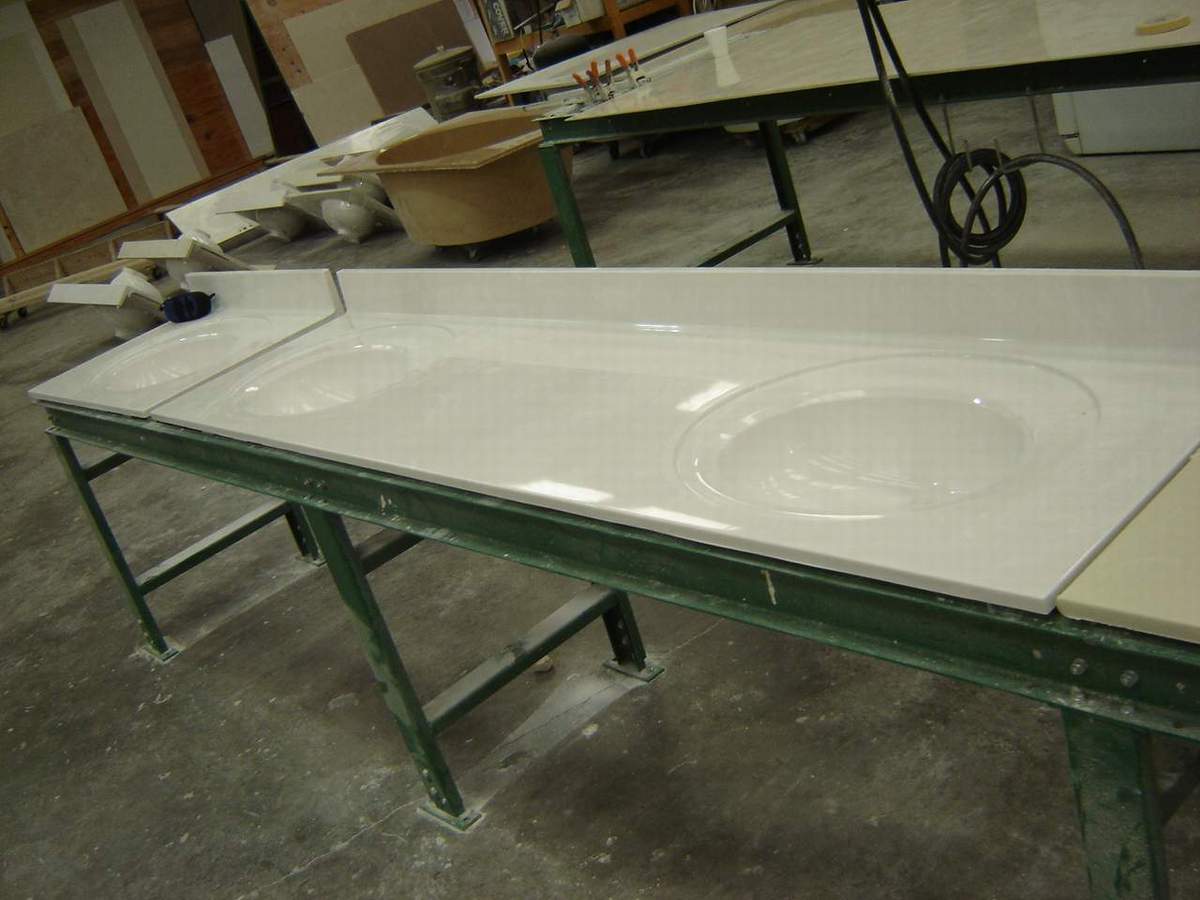
4. After your
gel coat has cured you will move the mold to the vibrating table where
the matrix will be poured. The vibrating table levels the
matrix and allows the air inside the mix to rise to the
surface. The matrix is mixed in one of three sizes of
blenders; a 150, 250 or a 350 pound.